


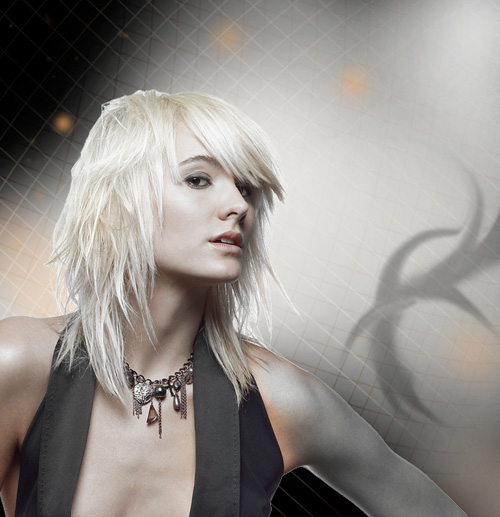
How to create Glowing Fashion Photo Manipulation
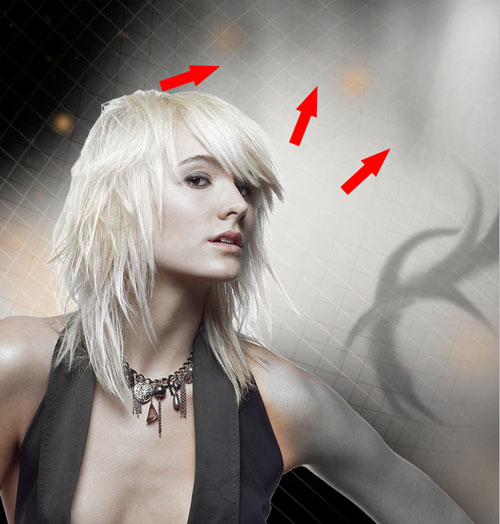
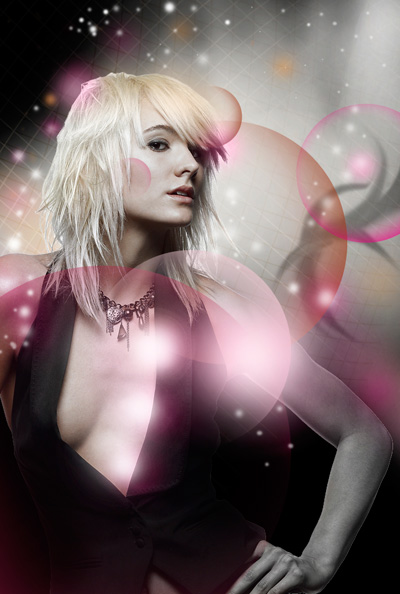
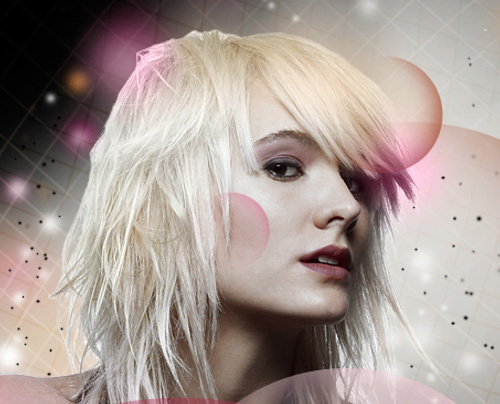
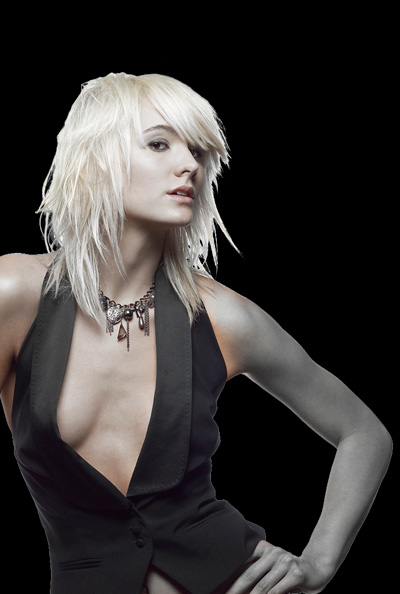
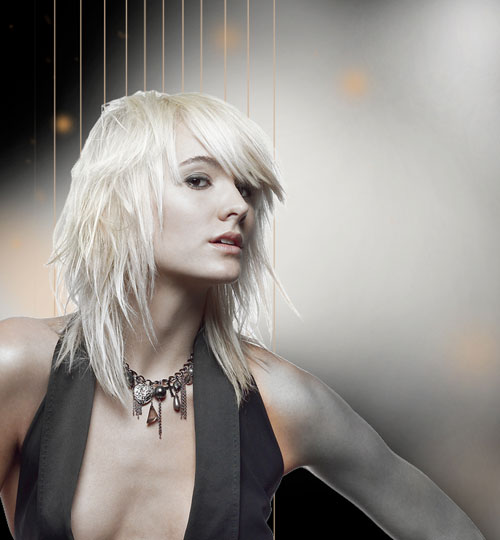
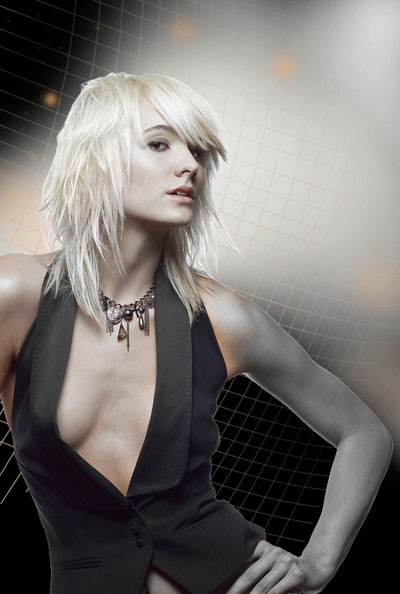
March 22nd, 2010 by ART-D Posted in Adobe Photoshop, Photo EditingDraw vertical shadows on the top part of the picture. The shadows’ layer should be situated under the girl’s layer.
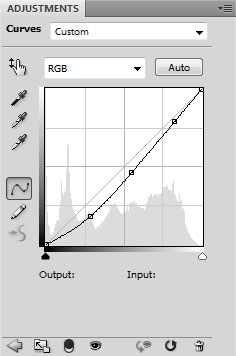
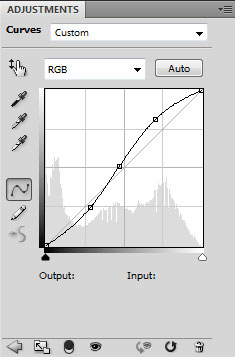
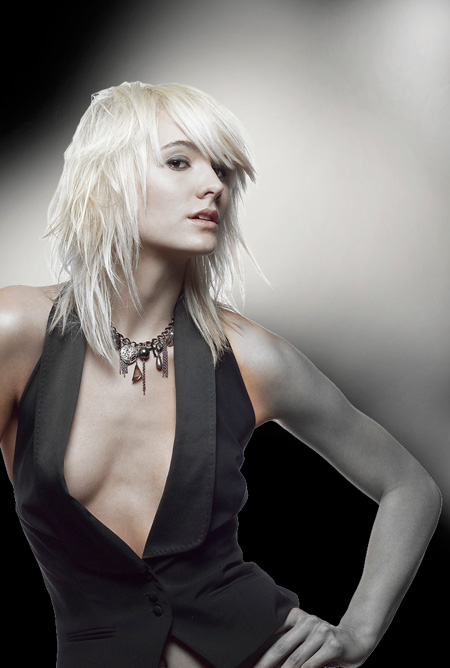
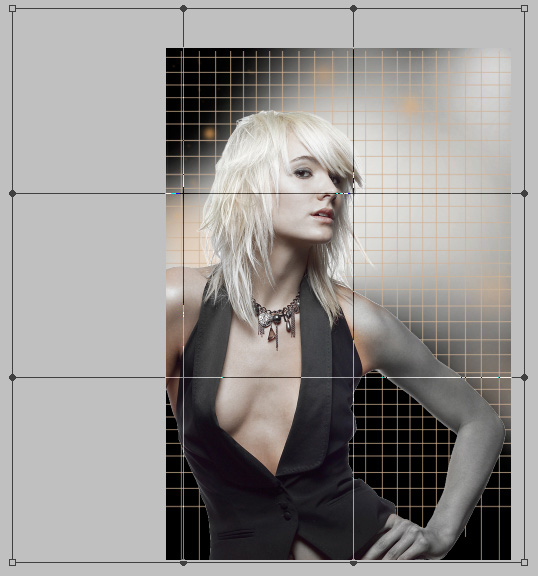
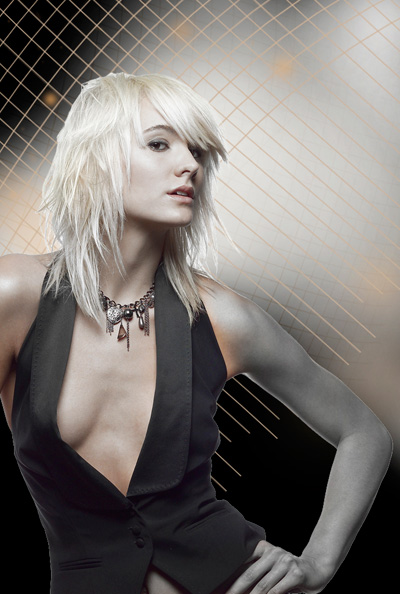
Click Create new fill or adjustment layer from bottom part of the Layers panel and select Curves to adjust the curve shape as shown to make a little color corrections.
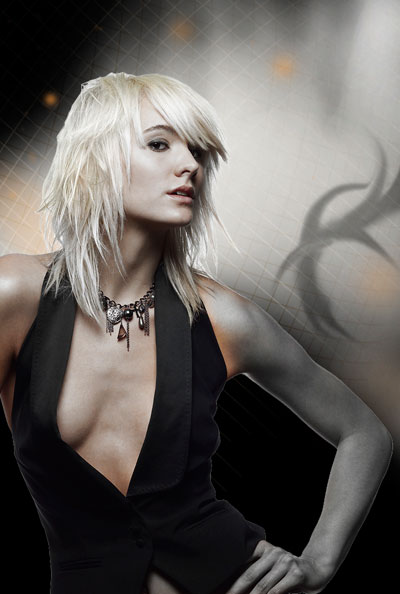
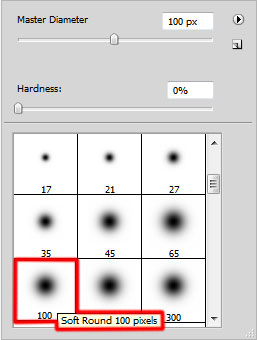
On the next new layer we’ll apply again the Soft Round brush of black color, applied before (Opacity 15%) to dark out the girl’s clothes.
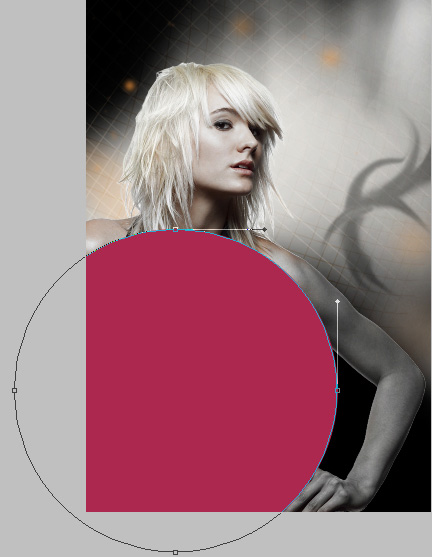
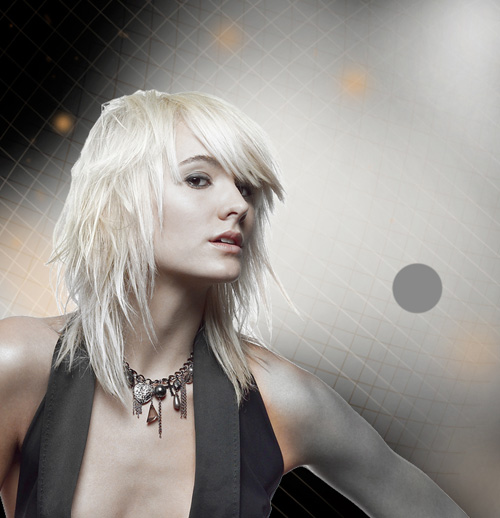
Use next the Ellipse Tool (U) to represent a ellipse of the color #942C4F
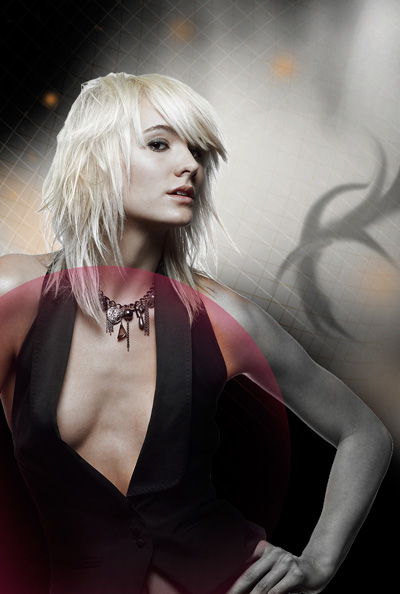
Click on the same layer on the bottom part of the layers’ panel on Add layer mask icon and apply the Soft Round brush of black color (Opacity 60%)

Paint on the mask to hide very accurately the middle part of the ellipse, leaving only its edges.
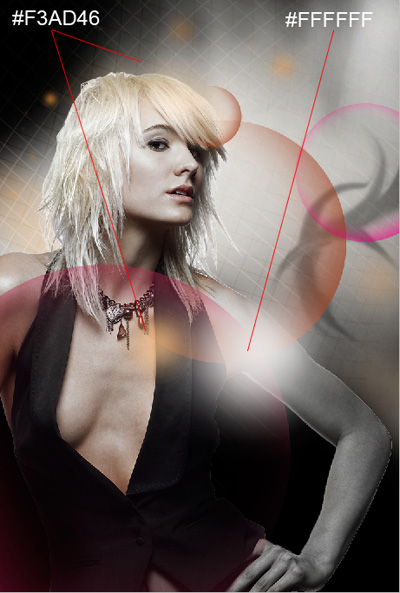
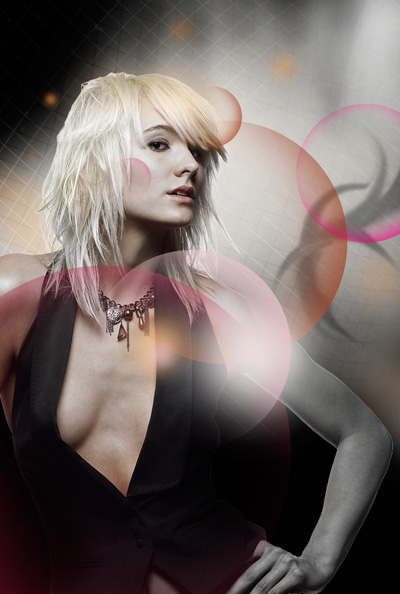
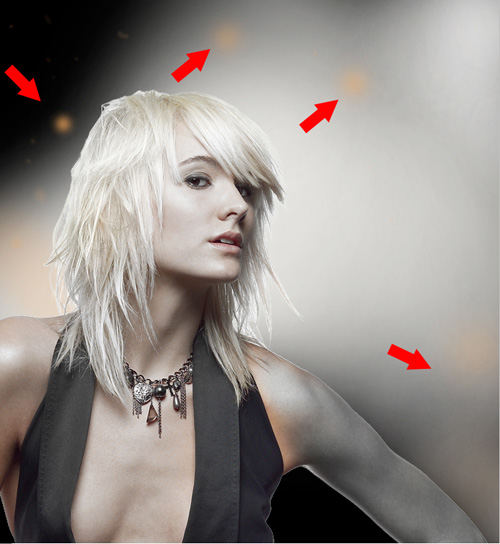
This way we must represent three more ellipses, which must be processed in the mask and hided their middle parts to leave only their edges. The ellipses’ colors are demonstrated next picture.

On the next new layer we’ll apply the Soft Round brush (Opacity 20%) to represent several spots as on the next image:
Use the Ellipse Tool (U) to represent two more ellipses:
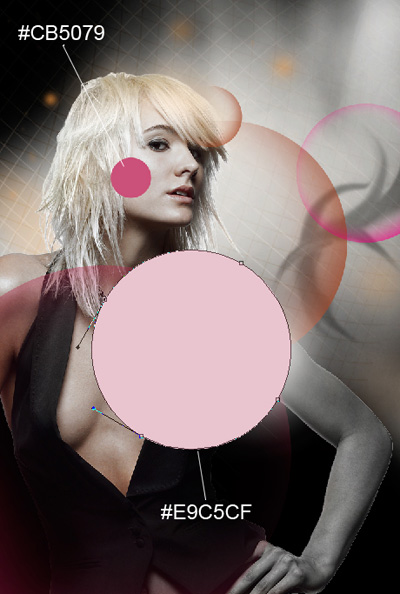
Click on each ellipse’s layer on the bottom part of the Layers panel on Add layer mask icon and choose the Soft Round brush of black color (Opacity 60%)
Paint in the mask to hide the inside spaces of the circles:
Create a new layer and apply for it the Soft Round brush to represent several spots of pink color.
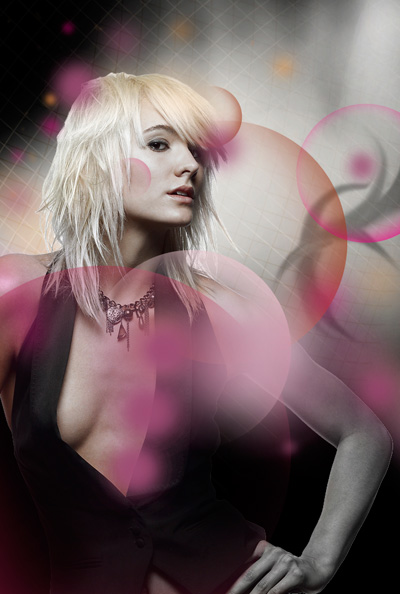
Set the Blending mode for this layer to Color
Create a new layer and select the Soft Round brush

represent many white dots of different diameters.
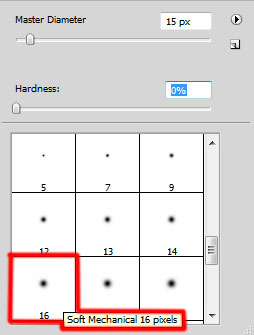
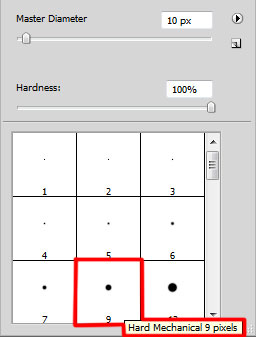
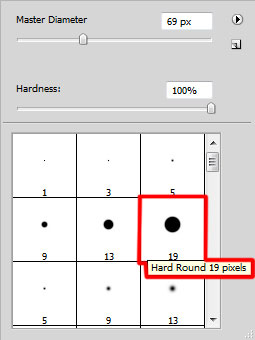
On the next new layer we’ll apply the Soft Mechanical brush of black color to represent several more dots.

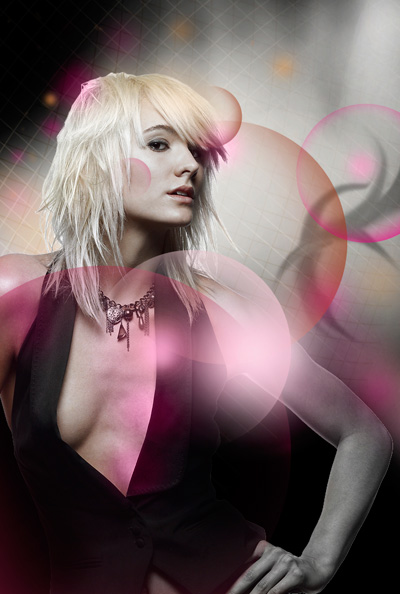
Create a new layer and select for it the Hard Mechanical brush to paint the girl’s lips and her eyelids.
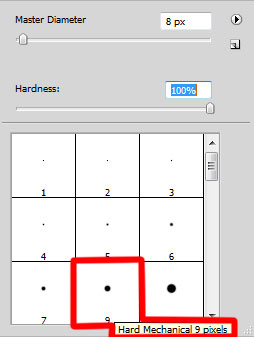
The brush’s color is #A42E77 (Opacity 20%)
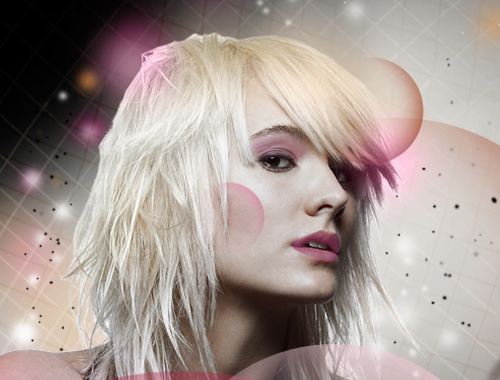
Set the Blending mode to Multiply for this layer
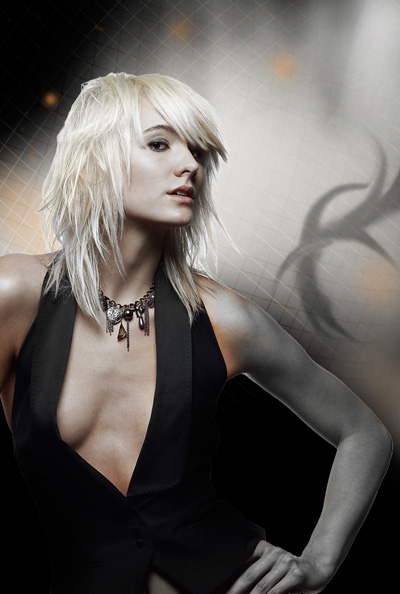
Click again Create new fill or adjustment layer from bottom part of the Layers panel and select Curves to adjust the curve shape as shown to make a little color corrections.
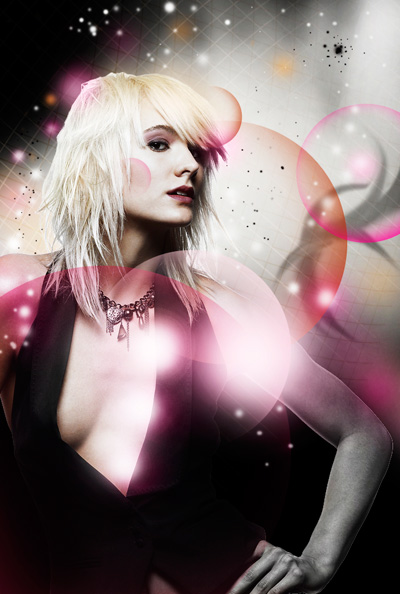
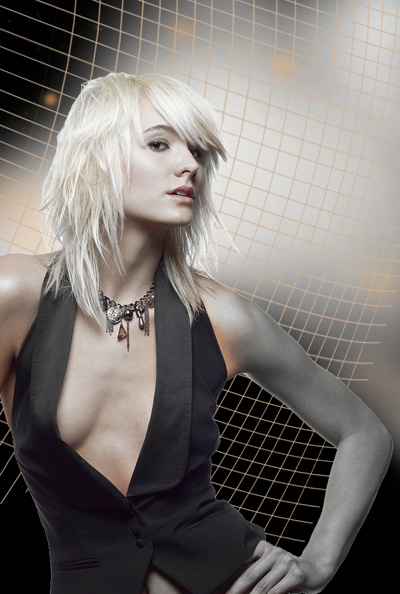
Finished!
View full size here.
Download free Layered PSD file.


 . Akhirnya selesai juga hasil eksperimen selama 3 hari.